Whether you're interested in production, DJing or just music in general, odds are you've used EQ at some point. Whether that's a complex EQ plugin inside a DAW, the EQ on a DJ mixer or just the "treble" and "bass" knobs on your car stereo, we understand that equalisation has the ability to drastically alter the sonic characteristics of a piece of audio. But what if you're in that production camp? What's the "right" type of EQ to use? For starters, the "right" EQ to use is the one you get the best results with, regardless of complexity. With that in mind though, we're going to take a look at one of the most flexible and accurate forms of equalisation - Parametric EQ.

What sets parametric EQ apart from your standard 3-band DJ EQ or even a graphic equaliser? Mostly it's the ability to make very precise and deliberate adjustments in ways that other types of EQ can't. When discussing Parametric EQ in this piece, we’re referring to an Equaliser that is made up of one or more Parametric filters, whose Frequency, Gain, and Q can be controlled. This is probably best explained by comparing Parametric to Graphic equalisation. Graphic EQ is most often seen as a set of sliders, each representing a fixed frequency range (band/bandwidth) which you can boost or cut. The more sliders, the narrower the bands and the more detailed control you have over the frequency spectrum.
However, parametric EQ allows you to choose the centre frequency and adjust the bandwidth to your own liking. Being able to accurately select the frequency you wish to adjust and how much those adjustments affect the surrounding frequencies is why parametric EQ is often referred to as "surgical". The precision with which you can "carve" up a piece of audio is a major attraction to those who want to control, in detail, the overall sonic spectrum of their production.
 Parametric style EQ (Left) vs Graphic EQ (Right)
So how does it all work? To understand how parametric EQ achieves such precise results, let’s look at some of the most commonly used parameters.
Frequency
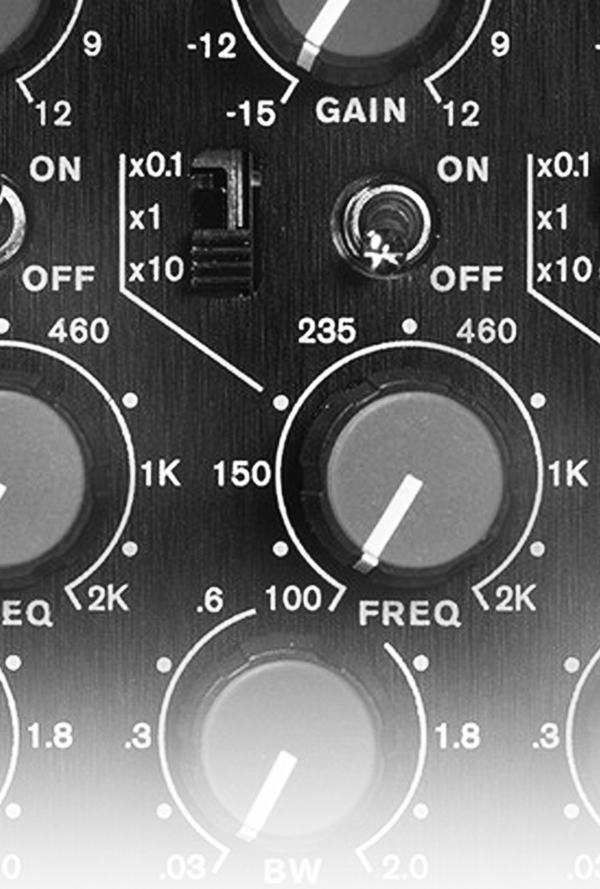
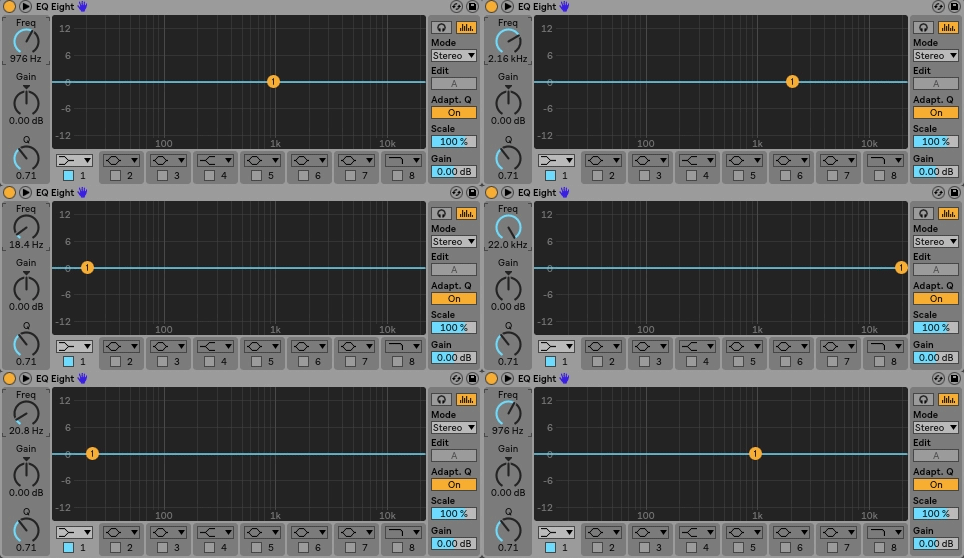
This is where you set the centre or primary frequency of the band. Simply, this is the frequency at the middle of the bandwidth you're wanting to effect, we'll talk about adjusting the bandwidth later. How accurate you can be when selecting a frequency depends on the software plugin or hardware unit you're using. In all the examples below we're using EQ Eight within Ableton Live, which allows you to enter a frequency, accurate up to 0.1Hz or 0.0001kHz, so it's quite precise. Setting the frequency does not affect the audio on its own. For that we need to look at gain.
Gain
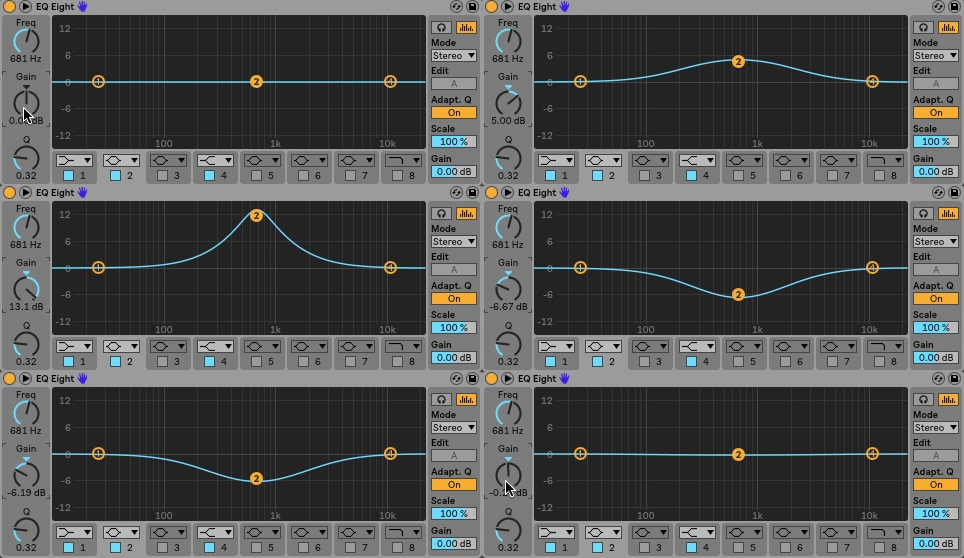
Without getting too complicated, it's easiest to just think of this as volume. Once you've chosen the frequency you want to affect you need to decide, do you want to make it louder or quieter? When talking about EQ, this is usually known as Boosting (raising the amplitude) or Cutting (lowering the amplitude). When looking at a parametric EQ like EQ Eight, the gain is represented on the vertical axis. The higher or lower the frequency node is shifted, the more, or less of that band is introduced or taken out of the mix. This can also be called "Additive" (Boosting) or "Subtractive" (Cutting) EQ.
Q
This is where parametric EQ comes into its own. Adjusting the "Q" widens or narrows the bandwidth of your selected centre frequency. This is arguably the most powerful part of parametric EQ. Combining Gain and Q allows you to boost or lower everything from extremely narrow to very wide frequency ranges, meaning you can very precisely accentuate areas of the spectrum you find pleasing or hone in and remove/reduce certain sounds that are less desirable. This functionality is where parametric EQ gets its "surgical" reputation.
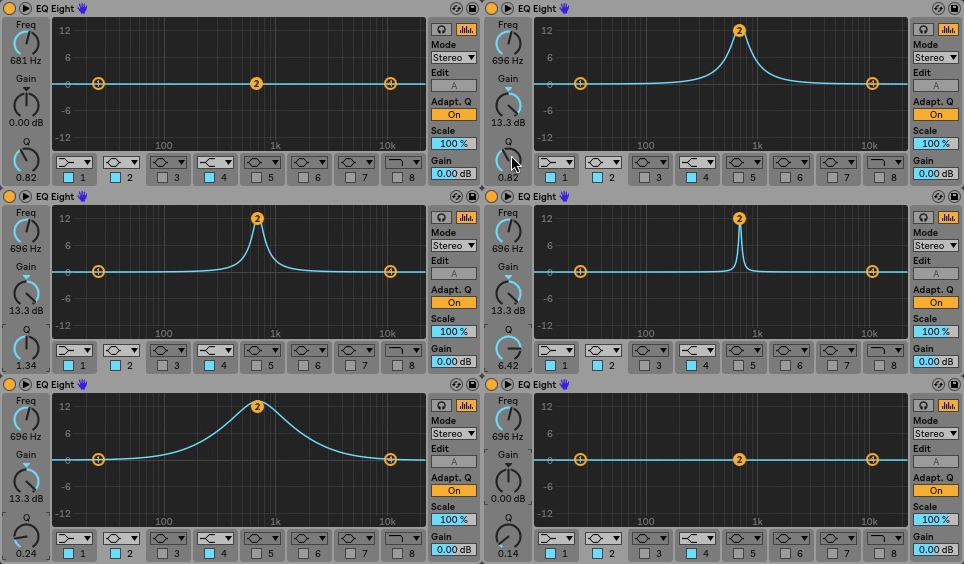
Shape
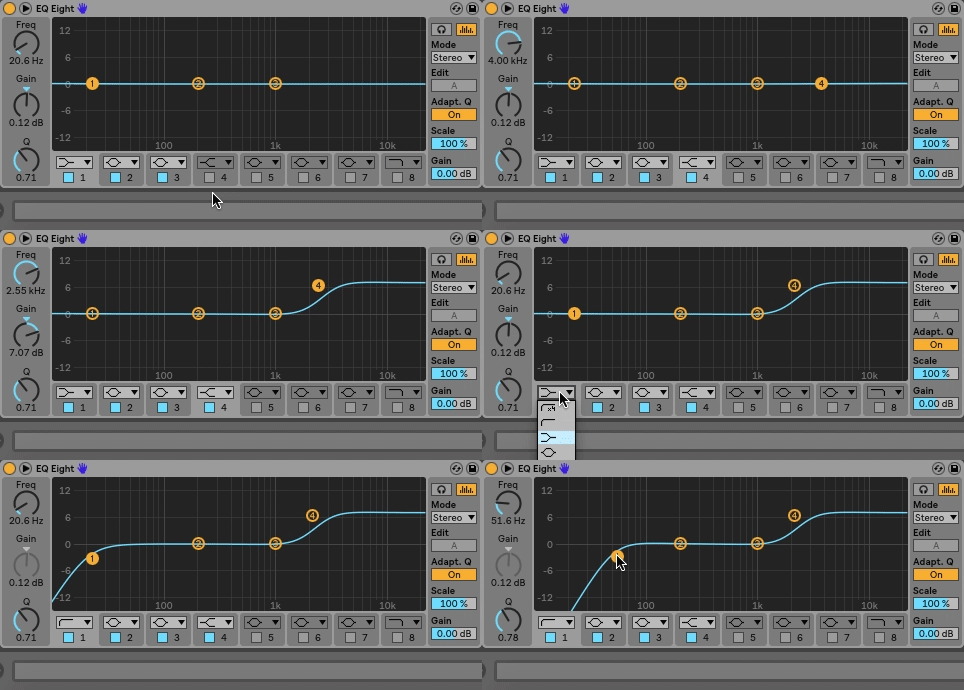
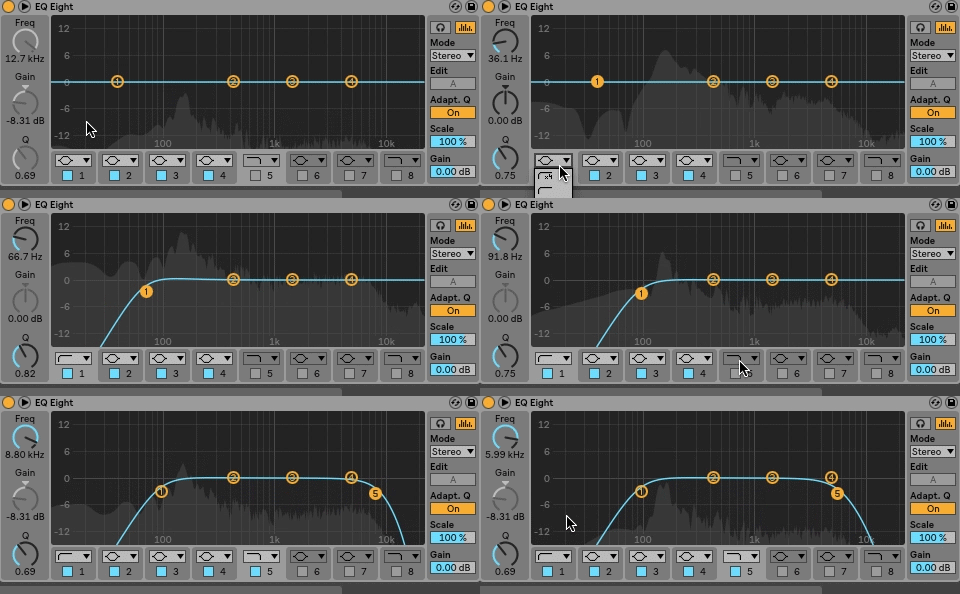
Most parametric EQ's will have a series of nodes running across the horizontal axis (the horizontal axis represents the overall affectable frequency range). These nodes denote the centre frequency of a bandwidth. You can set each node to behave differently by selecting a "shape". Often the nodes in the middle will be used as either a bell (boost) or notch (cut) shape. Other shapes, such as a shelf or low/high pass filter are more commonly used for the nodes at either end of the spectrum. High shelves are great for boosting or attenuating content above the centre frequency and are commonly used on things like vocals or other sounds where you'd like to extenuate the "sparkle" or rich high elements. Whereas something like a low-pass, will cut off frequencies below the set point and is great for eliminating low-end content that may muddy up your mix. For more info on filters and their characteristics, click here to read our "Filters Explored" article.
EQ Tips
Now that we've been over the basics of parametric EQ, it's time to discuss a few general ideas that you might like to consider when shaping your sounds. These are not "rules", there are no rules and if anyone tell you there is, they're there to be broken!
Consider cutting, rather than boosting:
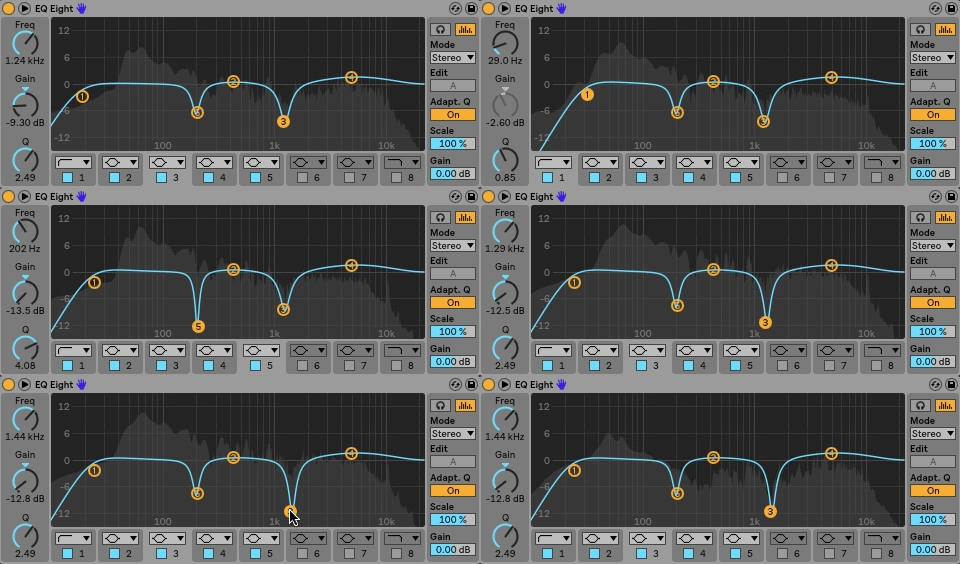
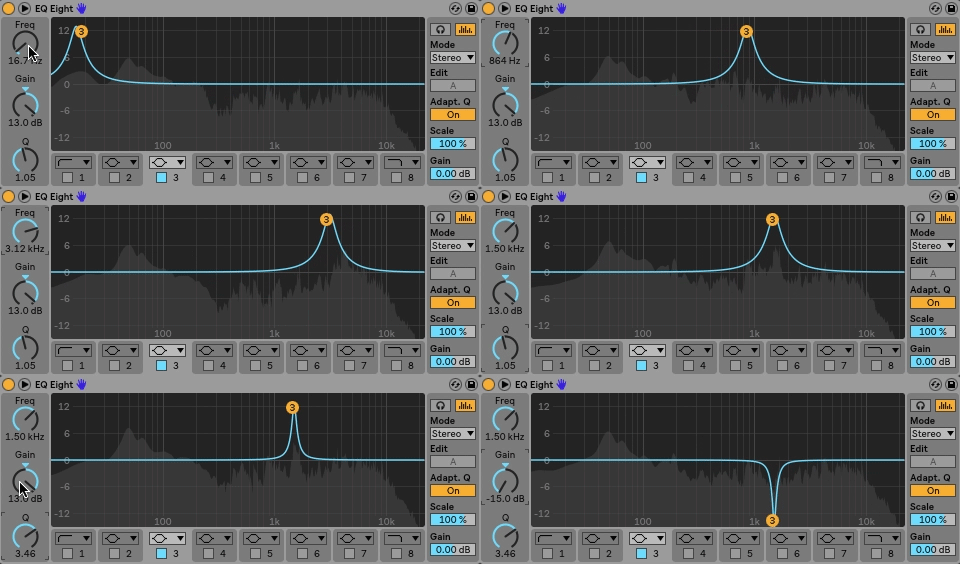
As mentioned earlier, the "Q" setting is probably the most powerful parameter of a parametric EQ. One of its most common and easy to understand uses is isolating unwanted or unpleasant frequency content and then cutting it out. This is done by boosting the gain, setting a reasonably high Q and then using the frequency parameter to sweep through the full spectrum until you find the offending frequencies. From here you can play with the Q setting to more precisely hone in on the problem range, then invert the Gain to go from boosting that frequency range to cutting it. This is especially useful if you have overly resonant parts of a sound that you'd like to tame, or for attempting to de-emphasise parts of a more complex mix, for example trying to control the snare sound in a sample.
Locating and removing problem frequencies:
As mentioned earlier, the "Q" setting is probably the most powerful parameter of a parametric EQ. One of its most common and easy to understand uses is isolating unwanted or unpleasant frequency content and then cutting it out. This is done by boosting the gain, setting a reasonably high Q and then using the frequency parameter to sweep through the full spectrum until you find the offending frequencies. From here you can play with the Q setting to more precisely hone in on the problem range, then invert the Gain to go from boosting that frequency range to cutting it. This is especially useful if you have overly resonant parts of a sound that you'd like to tame, or for attempting to de-emphasise parts of a more complex mix, for example trying to control the snare sound in a sample.
Use the High and Low Pass filters:
If you've got sounds that don't have a great deal going on in the extreme low or high-end frequency ranges, cut it out! Residual low-end on say, a snare drum, can add unnecessary content to your mix. If you cut a snare at 100Hz, you're more than likely not losing much of the desired sound characteristics, but there may be harmonic things going on down there that will clash with the low-end stuff you care about, like your bass. Cutting low frequency information on elements that are more mid-range dominant; piano, synths, guitars, drums (excluding the kick) etc. is a very common practice. The idea stems from wanting to free up room for your dedicated low-end sounds. You only have so much space across the frequency spectrum to fit in all your components and EQing is about creating harmonious balance between all those sounds. The same can be said for bottom heavy content. While it may carry some higher frequency elements, if what you're interested in is the bass, cut the high stuff with a hi-pass filter.
Watch your output:
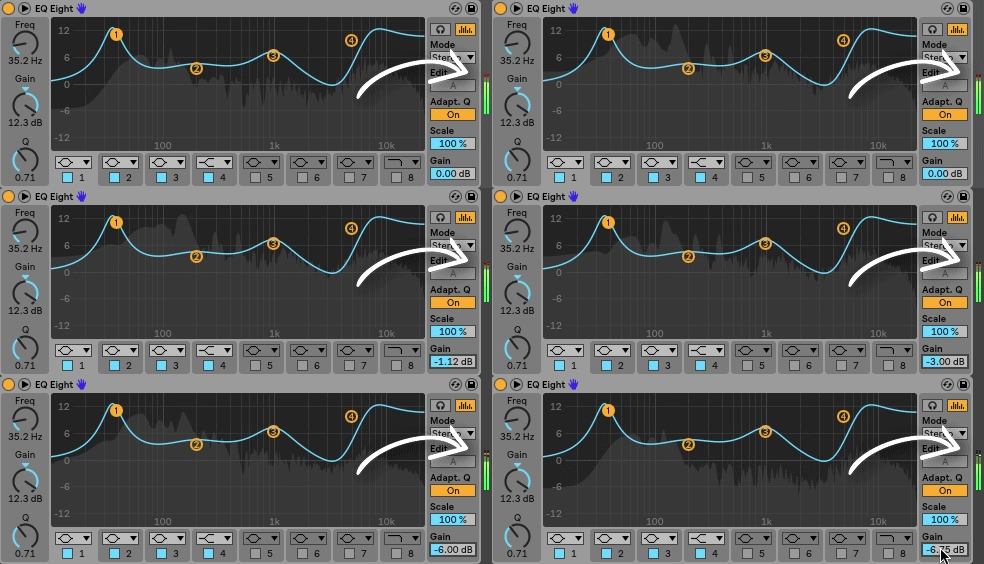
This is a simple one. You can very easily get carried away when EQing and if you're boosting a lot you must remember that this will make the overall volume louder. An EQ will have a master Gain or Output setting so make sure that if you're raising the level by adding in harmonic content, you're attenuating (turning down) the output, by adjusting the gain.
